Showing posts with label Tactical Combat rules. Show all posts

Thursday, January 23, 2014

Rising Sun: Operation Watchtower: The Goettge Patrol

Last night, I played the first scenario from Britton Publishers' "Rising Sun: Operation Watchtower", The Goettge Patrol.

***** Historical Background *****

The historical action took place on August 12, 1942. A small patrol consisting of Lt. Col. Frank Goettge, some 24 marines and a surgeon set out to land west of Matanikau where, according to a Japanese prisoner, there were soldiers in dire straights and willing to surrender. Originally intended as a combat patrol, Goettge had changed the mission to a humanitarian one - and this change caused excessive delay; the patrol did not depart until night had fallen.

Things went to Hell, thereafter. 

The Marines landed at the wrong spot. Their amtrac which had gotten stuck on a sandbar, had, according to some sources, alerted the Japanese to their presence. 

http://guadalcanal.homestead.com/
When Goettge and 2 marines made a reconnaissance patrol down a path into the jungle, they encountered Japanese soldiers, Goettge was shot and killed. 

The two Marines managed to escape back to the beach to join the main body of the patrol which would spend the rest of the moonless night being picked off one by one by the Japanese. 

http://guadalcanal.homestead.com/
Three men survived - two who had tried to reach the American lines to bring reinforcements (it was too late to save the patrol), and one who retreated into ocean to swim (4 miles!) back to the American lines, when he was the last man left.


***** The Set Up *****

The Britton Publishers scenario begins with the 2 squads of marines and a platoon HQ on the beach and a company of Japanese in the jungle making their way towards the marine position. The Japanese have 4 turns to eliminate the marines.

One key point, 4 turns is in terms of Britton's MicroMelee game for company level actions, which allows units 1-6 actions per "phase." Having no idea what this means, I decided on a 12 turn limit for David Newport's Tactical Combat WWII rules, which are my preferred company-level rules.

Tactical Combat, like, from what I have gathered, MicroMelee, uses 1 base per squad. However, it seems to me that, if you have the figures for it, you could play this 1:1 with Nuts! or Disposable Heroes or any other 1:1 set of rules. 

Britton provides a handy map of the table, which I duplicated to the best of my ability - although I reduced the table size to 3' x approximately 2' 33"  (the water is craft foam sheets that are 9" x 12").

I deployed my Marines in the center of the beach near the water's edge per the historical situation and then placed the Japanese by platoon, using a d6 1-2 = left, 3-4 = center, 5-6 = right. I placed the mortar squad with the company HQ in the same way.

Rather surprisingly, I ended up with the Japanese in a line from end to end - which almost never happens when I distribute forces by die roll.


MicroMelee has some sort of quality rating for each squad, so I translated that into Tactical Combat WWII terms.

The rifle squads range from TQR2-4 in MicroMelee, so, I interpreted that as Green to Elite in Tactical Combat WWII and then rolled a d6: 1-2 Green, 3-4 Average, 5-6 = Elite.

  • Platoon A (right): 1st Squad: Elite, 2nd Squad: Average, 3rd Squad: Average
  • Platoon B (center): 1st Squad : Green, 2nd Squad: Elite, 3rd Squad: Average
  • Platoon C (left): 1st Squad: Average, 2nd Squad Elite, 3rd Squad: Green
  • The mortar squad is Green.

The USMC squads are both Average.

The marines would start with fox holes dug, which would give them soft cover and force a +1 on the Japanese attack rolls  (in Tactical Combat WWII, the higher the number the worse the result when attacking).

Because the scenario is set at night, I decided that long range fire was at +2, normal to long range was at +1, and within one move was at +/- 0.

The marines couldn't see into the jungle and thus I wouldn't allow them to fire at the Japanese until the Japanese had moved onto the beach (if they did).

To control the Japanese, I set up the following:
  • If they are out of range or no line of site, move up to range/LOS.
  • At t long range, roll 1d6:
    • 1-2 Fire
    • 3-4 Light Mortars fire, all others advance 1 move
    • 5-6 Advance 1 move
  • In normal range but more than 1 move, roll 1d6:
    • 1-2 Fire
    • 3-4 Light Mortars fire, all others advance 1 move
    • 5-6 Advance if Marines in cover, else Fire
  • Within 1 move, roll 1d6:
    • 1-2 Fire
    • 3-4 Advance to close combat if enemy is paralyzed or suppressed, otherwise Fire
    • 5-6 Advance to close combat
Although historically the Japanese didn't swarm the beach until the marines had been, to their knowledge, completely eliminated, that seemed really boring from a wargame perspective, hence why there's so much movement on those tables. 

Also, before the game started, I had decided that the Marines would sit tight and try to use their limited cover to increase their chance of survival, so I did not include an option where the Japanese would hold their action in order to use Opportunity Fire (only squads that do not activate/attempt activation can fire during their opponent's Movement phase).

The Japanese were the attackers, and so they would go first each turn. 


***** The Game *****

Turns 1 and 2 were simply advances made by the Japanese. The first move got them to the edge of cover, the 2nd allowed them to break out onto the beach. Marine rifle fire from the squad on the right managed to suppress a Japanese squad (B1, right most squad, center platoon).


Turn 3 saw more rifle fire exchanges.


In Turn 4 the first Japanese squads charged in for close combat. The marines made a strong showing and beat back the attacker with minor injury. Turn 5, they continued the close assaults, supported by fire from some of the squads.


Unable to hold out against the continued onslaught, by the end of Turn 5, the USMC squad on the left is driven back into the shallows of the water.

Still, they fought on despite having 2 hits (3 eliminates the stand), and in Turn 6, they took out the 1st Japanese squad.


The Marine squad on the right, which started the turn in perfect health was completely destroyed by the close assaults.

On into Turn 7, the Marine squad defended against attack after attack - eliminating THREE Japanese squads before finally succumbing to the superior numbers.


***** Thoughts on the Battle *****

I made it past the half-way point, and took out 4 Japanese rifle squads and 1 Japanese platoon HQ, so I don't feel too badly about my performance here.

If I were to play this again, with the same distribution of Japanese platoons evenly across the table, I would hold my Marines until the Japanese had committed, and then sweep out to one or the other side, to flank them. 

The idea would be to buy time by distancing my squads from the bulk of the Japanese force and limit the number of enemy squads that could engage them. Continued motion, rather than staying in any one spot, might increase the chance of survival.

Close combat, with the fox hole defensive advantage, slight as it was, may have extended the life of the Marines. That advantage would be lost if I used the fight-move-fight method above. But, the right Marine squad had two hits and won 3 rounds of close combat in turn 7 before being eliminated, so I'm not convinced that cover advantage meant all that much.

I lucked out that the Japanese mortar stand was useless - I rolled 9s and 10s every time it attacked.

Had it struck home it would have been disastrous for the Marines. 

Before I remembered it was night, I had planned to use it to lay down smoke, to give the advancing infantry some cover, but that was of no advantage at night and even if it had been day, it would only provided limited cover as it was just one single mortar stand. A handful of stands might make a big difference however in a daylight battle.

Monday, July 15, 2013

Somewhere on the Eastern Front

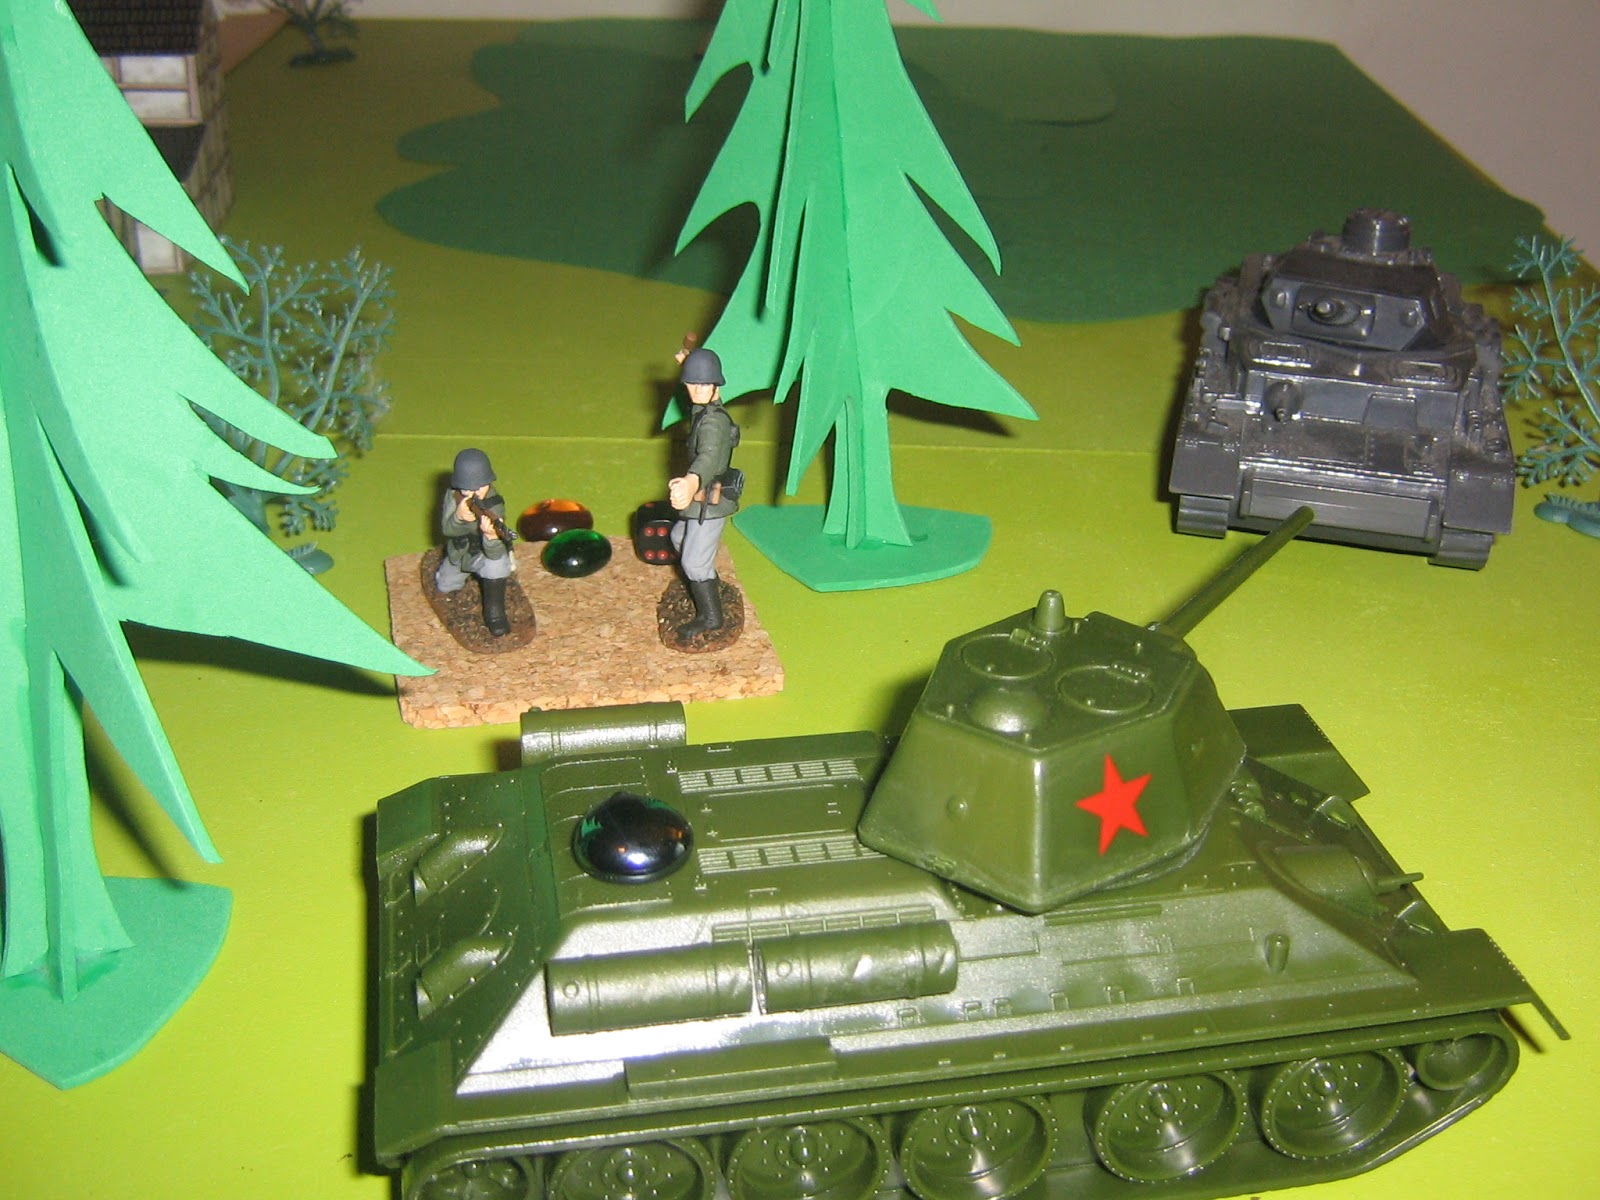
Saturday night, I had a bit of time to game and decided I wanted to bring my painted 1/32 Soviets and Germans to the table for their first real outing.

A few months back, I began looking for a rules to play company level games and as luck would have it, Lone Warrior #182 brought Tactical Combat by David Newport to my attention. My intent is to use them in the Pacific, but I also really like the ideas of fighting larger operations with the big figures. 

The rules themselves are simple - easy to learn and easily modified if desired, and the author himself quite helpful in that regard. I wrote Mr. Newport early on to thank him for making the rules available and told him of my plans for Pacific Theater battles, and he replied with suggestions for additional rules to capture the feel of that conflict.

Basing is 1 base = 1 section, 3 sections = a platoon. For tanks, I'm not sure of the intent but i treated them as 1:1.  As my figures are not ordinarily mounted on a base, I used cork squares as ad hoc bases. Not pretty, but they did the job.

I left the ranges as written. I find this really helps allow maneuver room in a game with the big figures 

The ground scale and figure scale are perhaps far out of whack at that point, but I really don't care. It's a game; if I can accept that 2 static figures represents 10 active men looking for cover and the best firing position available, the notion of a turn sequence, or the fact that a die roll represents bullets, then I can accept the game-facilitating effect of the movement and weapon ranges.

For solitaire's sake, I used the Nuts!2.0 Enemy Activity Level, Possible Enemey Force (PEF, aka blinds), PEF movement and PEF resolution once revealed. If a PEF resolved to actual troops, then their movement thereafter was controlled by he enemy movement rules from Gunstorm! 

Scenario

1943. The German advance has pushed the Soviets from the village of Pushkinskya (to my knowledge, a fictional place). My under-strength company of 2 platoons has been reinforced with a T-34/76 and has been tasked with halting the German advance, so the remainder of the battalion can regroup.

Victory Conditions: Game ends when any German unit exists the board on my base line or all German PEFs are eliminated / forced to retreat off of their own base line.

  The Battle in Pictures

My baseline. German blinds deployed.
Turn 1?: My right flank rather unsurprisingly reveals a Pz IV opposite my own T-34.
The German middle assaults the hill. The unit on my left leads the charge with covering fire from the unit at the village edge.
Turn 2: An ill-fated infantry attack on the Pz. IV results in 2 hits to the section (3 hits and it's eliminated).
The T-34 has better luck and the PZ. IV is forced to fall back, hull down and buttoned up.
The middle is a brutal affair. The German unit on the left storms the hill and pushes the Soviet section back. The Soviet left begins to close in to flank the Germans.
Turn 3: To my chagrin, one of the PEFs is revealed to be another Panzer.
Turn 4: On my left the infantry section is eliminated and my T-34 is hit for a suppression. Meaning it can't act next turn unless it passes a morale check at the end of this one. Which it doesnt'.
In the middle, 1 German section is eliminated. Unfortunately, my units can't hit the broad side of a barn on a clear calm day from 1 meter and they're unable to take out the German section in the village.
Turn 5: The German tank and infantry section on my right break through my defensive line. Another section on my left does the same. My tank is STILL not back in the game. At least i finally took out the Germans in the village.
Turn 6: The game ended on turn 5, but I opted to play one more for giggles. My infantry ganged up on the tank but did nothing. But, hey, look at that the German blind left on the board finally moved! (It needed to roll a 1 on either of 2d6 and this was its first success).
****
I had a great time even with the poor dice rolling for my guys and eventual loss.

Once again, I love the rules and as mentioned, they are easily modified. In this case, I allowed the tanks to fire an MG at infantry (which allows best of two dice, instead of rolling 1), rather than limiting them to their main gun.

Can't wait to get more figures of both sides finished. 

I hope to field a full company each for use with Tactical Combat, sooner rather than later.

Tuesday, May 28, 2013

The Long Weekend

While I was out and about Saturday picking up some maintenance items for my car, I swung by the library for their Memorial Day weekend book sale and to drop off some books. I had only intended to buy books for Young Lord Shadowmoss, but as these things invariably go, I purchased yet another 4 items for my own reading pile:

  • Split Infinity by Piers Anthony
  • Prostho Plus by Piers Anthony (best setup ever: "Will a mild-mannered dentist from Earth be able to make it in the high-powered politics of galactic dentistry?")
  • Neuromancer by William Gibson 
  • No Bended Knee: The Battle for Guadalcanal: The memoir of Gen. Merrill B. Twining, USMC (Ret.)

As recompense for this tomfoolery, the universe deemed it necessary for me to slice my knee open on my way inside after mowing the lawn that afternoon. To explain exactly how this happened would be too complicated, but it involves a two car garage, a ladder, the garage door track, and thinking about what I was going to do, not what I was doing. The end result was 3 hours sitting around at urgent care in order to get 6 stitches.

In other, not unrelated news, in addition to watching war movies galore, I got a lot of painting done this weekend - my Soviet rifle squad is done, I'm nearly finished with the Semonovsky unit (a 12-figure battalion) for the Great Northern War and I started work on 4 more Soviets and 3 more Germans.

I also managed to squeeze in learning games of Iron Ivan's Disposable Heroes/Coffin for Seven Brothers, using my newly painted Soviets and Germans, and David Newport's "Tactical Combat" (available for free on the Lone Warrior site. Scroll down and look for 'Tactical Combat' WWII Rules), with my PTO collection.

Here's a blurry cell phone pic from the latter(turn 1 i think):


The stands represent sections, the individual figures are platoon HQ, and the individual in the center bottom is the company HQ. Ratio of figures to men is 1:3 in this case, but the figure count is irrelevant. You could got 1:1 or 1:5 (which i probably what I'll do in 1/32) or 1:10 (for battalion level games where each stand is a company).

I sent 1 company of USMC against 2 HMG teams and 2 rifle sections of Japanese in dug in positions guarding a cleared trail/road. The optional HMG rules - ignore long range penalty and roll 2 dice/choose the best result -make them pretty powerful. Although my marines won the day, we took around 30% casualties to clear those two positions.

As Lady and Younglord Shadowmoss are visiting her mother, tonight I will have ample time to paint and game, and plan to do just that, including working on the Semonvsky unit, and getting back into the Ever Expanding Dungeon (I haven't gone in there all month!).